How to dig or not to dig
As you explore organic gardening, you’ll likely come across the term ‘no dig gardening’ or ‘no-till’ and wonder what it means. No dig gardening is a straightforward concept, though it does differ from some traditional gardening practices.
While some traditional gardeners may resist this idea, it’s becoming clear that this approach is one of the most effective ways to maintain a healthy and productive organic garden. In a no-dig garden, you don’t dig or till the soil to prepare your growing areas or mix in organic matter.
Instead, you simply layer organic matter on top of the soil and let nature do the rest.
The main goal is to keep the soil as undisturbed as possible. By leaving the soil largely untouched, you allow the complex web of soil life—including earthworms, bacteria, and fungi—to thrive. Over time, this soil life will break down the organic matter and naturally integrate it into the soil.
Pros and cons of no-dig gardening
Pros
- Less digging!
- A reduction in weeds
- Improvement in soil health
- Improved drainage
- Preservation of carbon
- Better water retention
- Less pests
Cons
- Uses large quantities of organic compost which can be expensive or time consuming to make. (See our ‘how to make compost‘ for a guide)
- More shoveling and transporting compost
How to start a no-dig garden
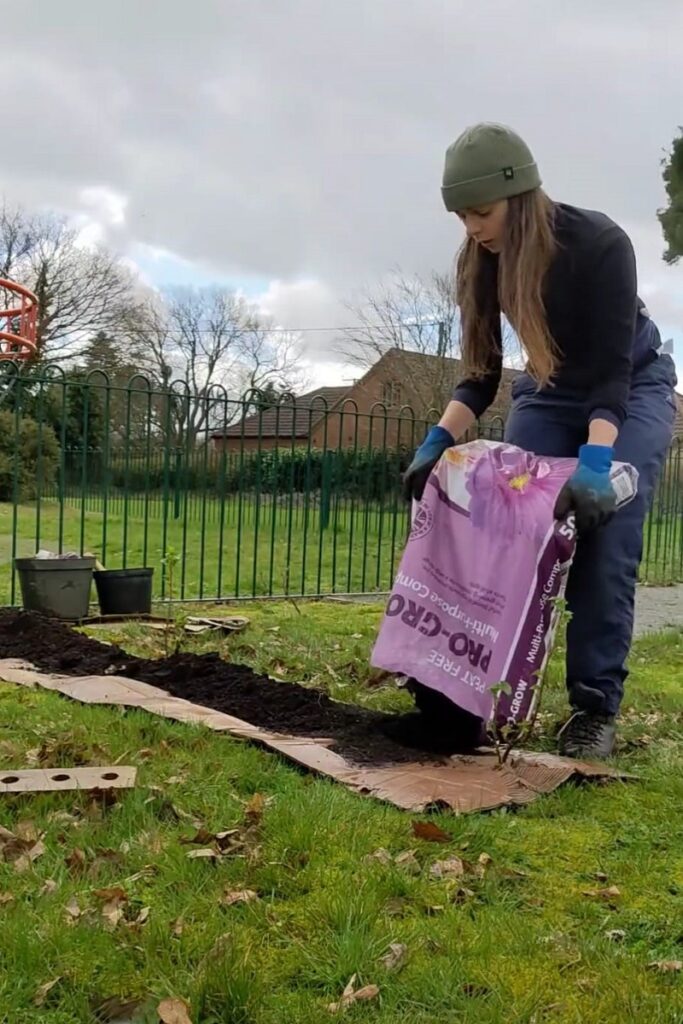
- You can create new no-dig beds at any time of the year, but late winter (February or early March) is ideal, as long as the soil isn’t waterlogged. To start fresh in an area with grass or weeds, begin by laying a double layer of cardboard over the soil. Overlap the cardboard sheets to ensure weeds won’t push through the gaps. Make sure to avoid using shiny printed cardboard, and remove any staples or parcel tape before laying it down.
- To secure the cardboard, cover it with a thick layer of mulch (10-15 cm of organic matter). If you want to plant the bed immediately, make sure to wet the cardboard before adding mulch or organic matter on top. The cardboard will help suppress most weeds, but be sure to monitor the bed and remove any weeds that appear before they become deeply rooted or set seeds. If you’re converting an existing bed to no-dig, you don’t need to cover it with cardboard unless it’s especially weedy. Simply spread a thick (10-15 cm) layer of organic matter directly on the soil.
No-dig gardening is effective for ground-level beds, allowing plants to root directly into the underlying soil, even beneath pathways. It is also beneficial for raised beds that have heavier, poorly drained soils prone to waterlogging, as they improve drainage.
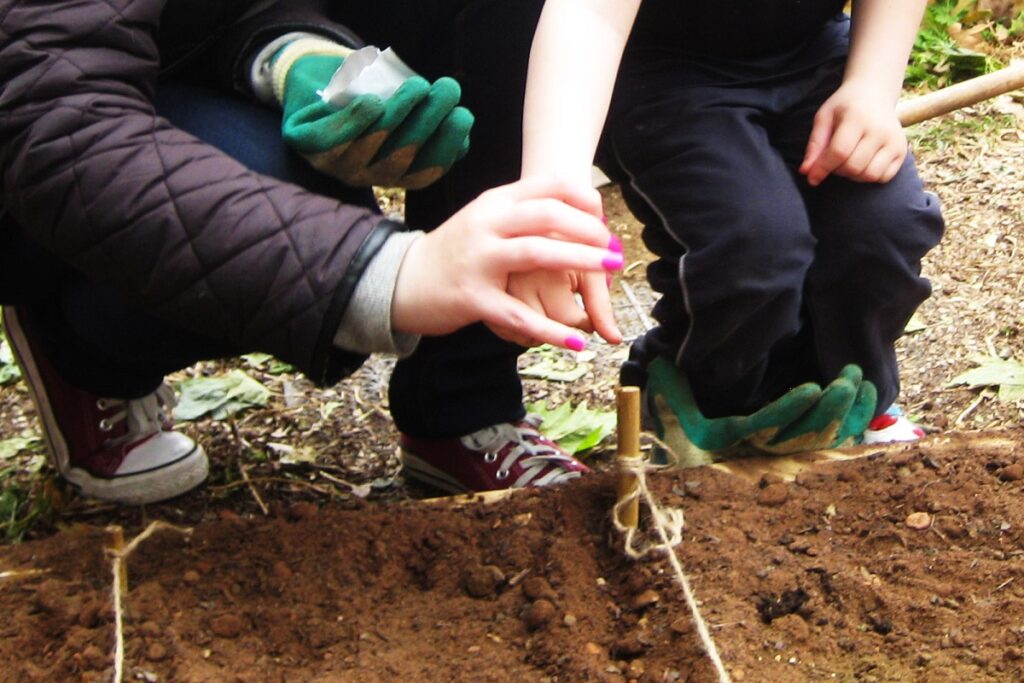
- You can plant a no-dig bed immediately after creating it, provided the mulch is well-rotted and at least 10cm deep. Sow seeds directly into the surface mulch as you would in soil, or start young plants in cell trays before transplanting them into the mulch. The latter method helps reduce slug damage, as larger, more established plants are more resilient. As long as soil disturbance is kept to a minimum, it’s fine to dig small holes through the mulch to plant into the underlying soil. This is necessary for crops like potatoes, as well as bushes and trees. The key is to avoid turning over the entire area.
Walk on it as little as possible, water, weed, feed and harvest your crops as normal (although you might find it needs less watering as the mulch and organic matter can help prevent evaporation from the soil surface).