How to sow seeds
Each type of seed will require a slightly different way of planting and the video below gives a very general overview of how to sow seeds in seed trays that aims to compliment the instructions given on the seed packet. Once the seedlings are big enough, you can transfer them to a pot or container (see our ‘how to transplant seedlings‘ guide) or directly into the ground.
What soil should I use for my seeds?
There are few options in terms of what soil to use when sowing seeds.
You can buy specific seed sowing compost, this tends to be a finer crumb and has less nutrients, ideal for seedlings. Or you can buy Multi-Purpose compost (usually slightly cheaper and a bit more versatile) but just ensure you remove any large clumps, ideally with a garden riddle (sieve).
There is also the option of using the soil you already have in your garden! Again, as long as it has a fairly fine crumb and closer to a loam soil than a heavily sandy or clay type. Click here for our ‘understanding soil‘ guide.
Sowing seeds in seed trays
Sowing seeds directly outside

Sowing seeds outdoors straight into the soil is known as ‘direct sowing’ and this can be an environmentally friendly way to fill your garden; with no need for pots or compost.
A wide variety of salads, vegetables, and herbs are perfect for direct sowing. While spring is the prime season for sowing many seeds outdoors, some can also be sown in summer and autumn. Be sure to check the seed packets for specific sowing times. Seeds can be sown in drills (rows) or broadcast (scattered over the soil surface). Sowing in drills makes it easier to differentiate your seedlings from weeds and is ideal for seeds that require deeper sowing than just a few millimeters whereas broadcast sowing is easier for small seeds, seed mixes, or where you have a large area to cover.
Here are eight simple steps to follow when planting outside:
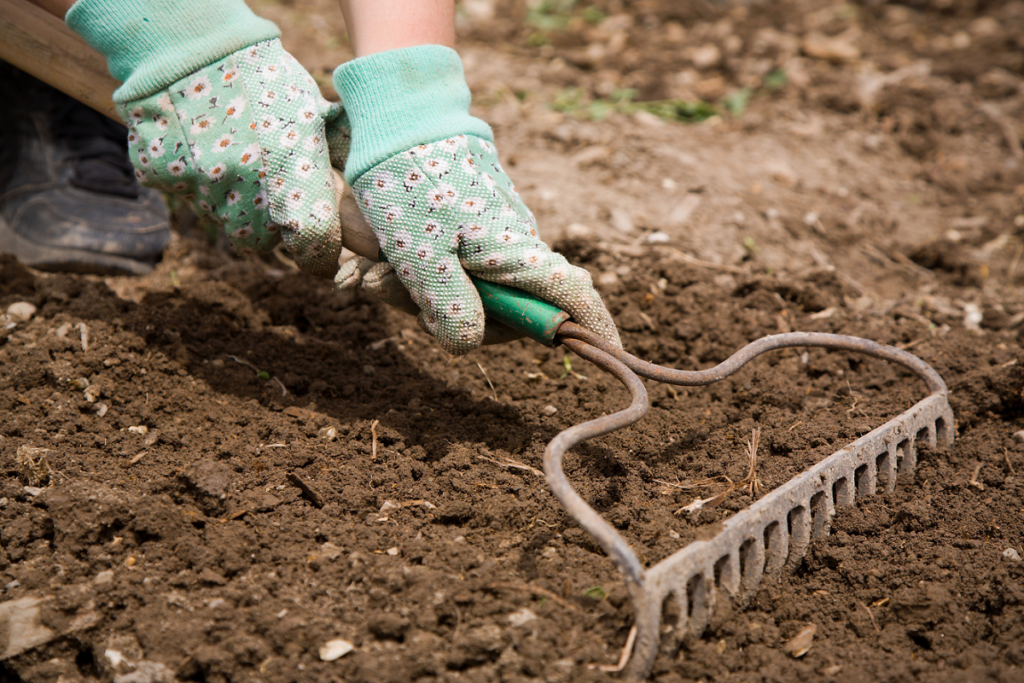
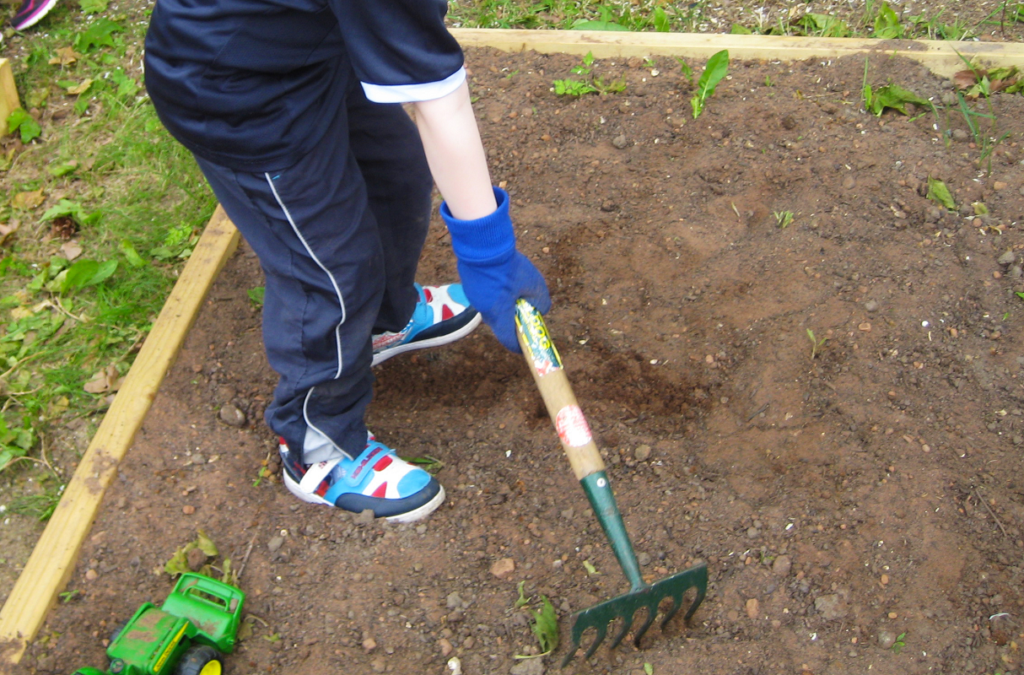
- Prepare your soil.
Remove any weeds and large stones, and use a fork to loosen the soil if it’s compacted. If the soil has been recently forked, dug over, or is newly added, gently walk over the area once. Then, rake the soil until it becomes fine and crumbly, creating a smooth, level surface.
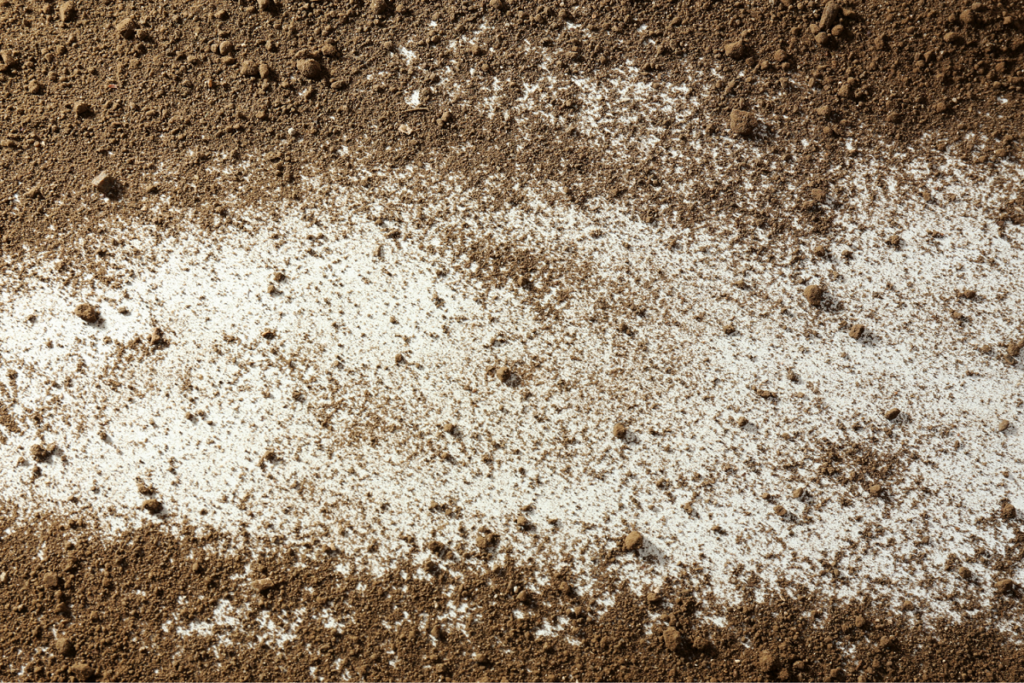
2. If you are using the broadcast seed method
Mix the seeds with sand (this helps prevent the seeds from being dropped in the same place) and evenly scatter the mixture over the prepared soil, moving your hand in various directions. A 50/50 blend of sand and seeds is especially effective for sowing small seeds. Gently rake the soil to cover the seeds, then proceed to step 7.
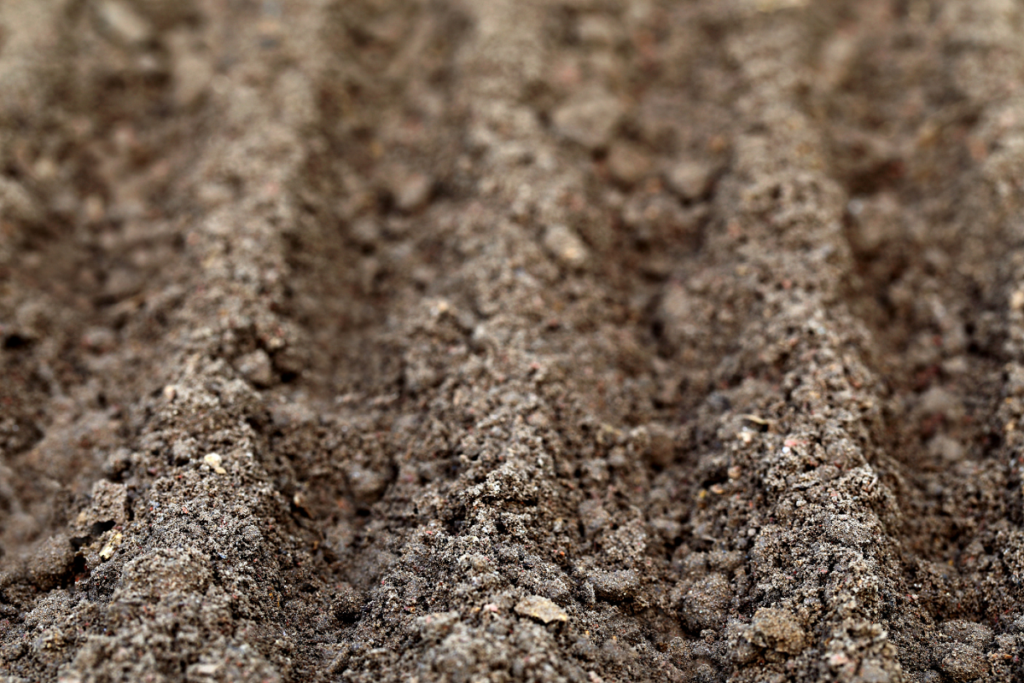
3. If you are making drills
Use a hoe, cane, or stick to create a drill. For straight rows, place a string line or bamboo cane on the soil as a guide. Refer to the seed packet for the recommended sowing depth, or follow the general guideline of planting seeds at a depth about two to three times their size. If you’re sowing multiple rows, check the seed packet for the recommended spacing between them.
4. Water along the drills
Moisten the bottom of the drills to promote germination and ensure that moisture is easily accessible for the growing roots.
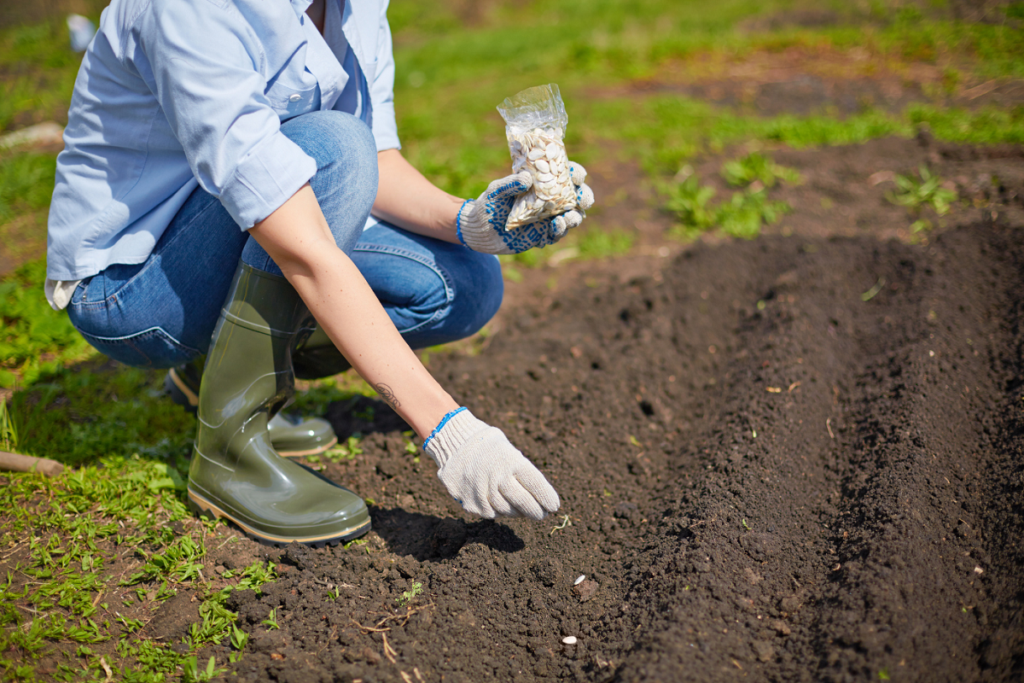
5. Sow the seeds
If the seeds are large enough to handle individually, place them along the base of the drill at the spacing recommended on the seed packet. For tiny seeds, take a pinch and scatter them as evenly as possible along the drill.
6. Cover the drill
Rake the soil back over the drill to cover the seeds, then gently firm it down using the back of the rake.
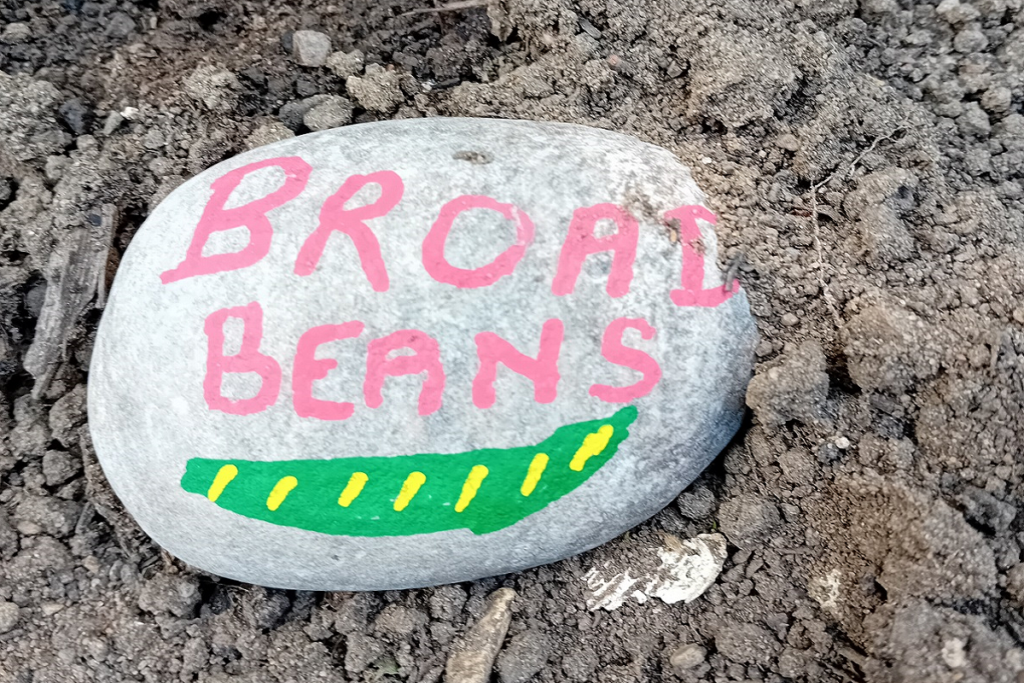
7. Keep a record
Place a plant label at the end of the drill or in the corner of the area you’ve sown, noting the plant and sowing date. Since birds may occasionally remove labels, make sure to also record the information in a notebook. Additionally, you can insert canes or sticks at both ends of your drills as markers.
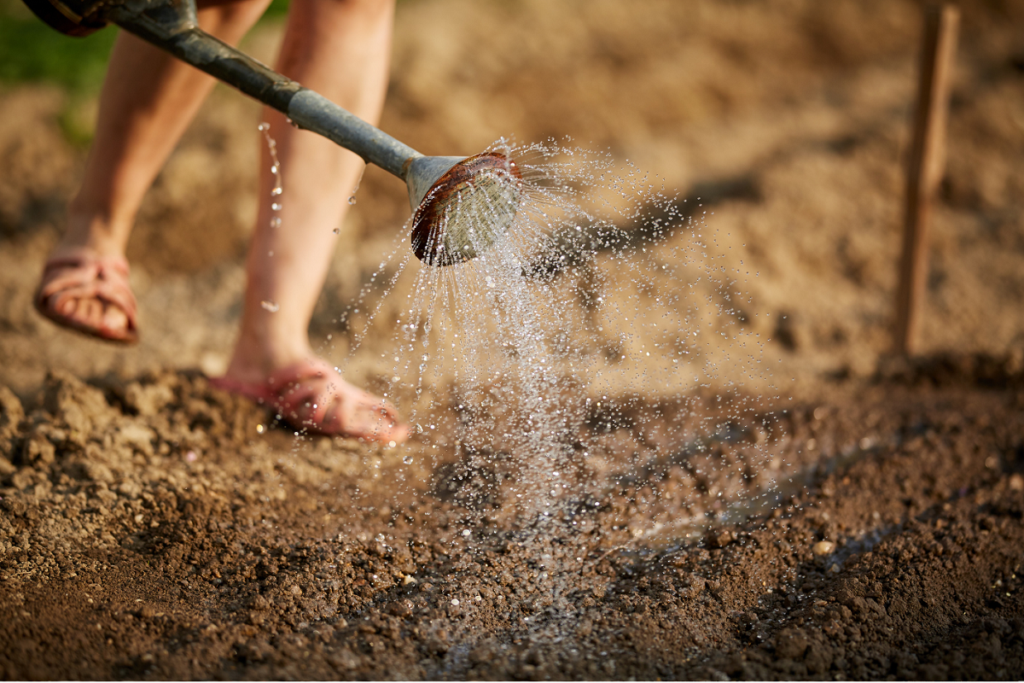
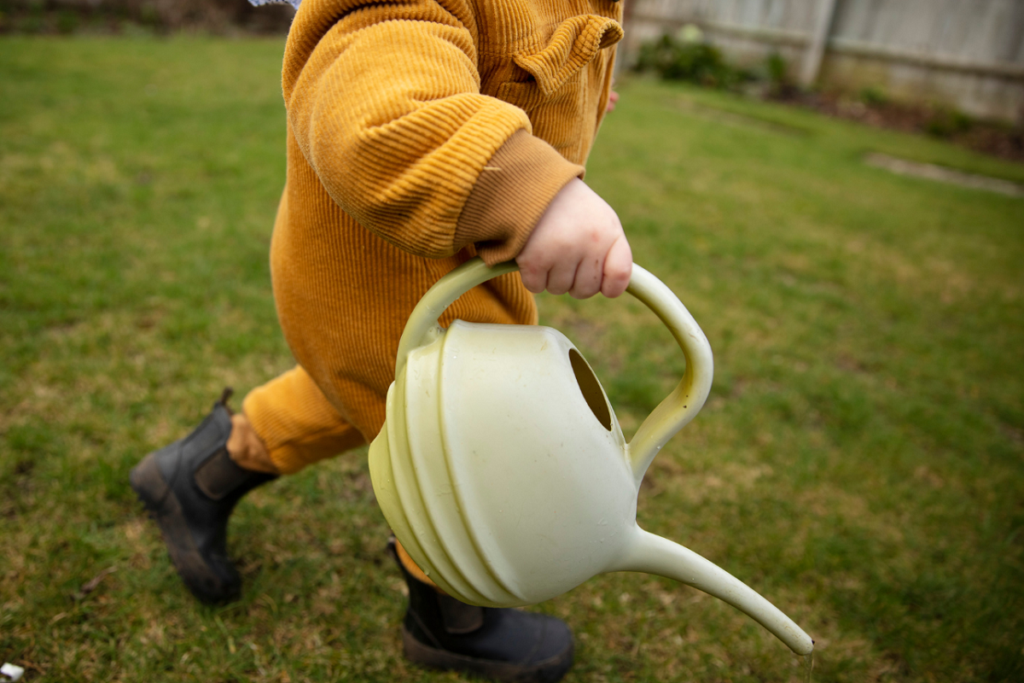
8. Water soil where the seeds have been sown
Water to settle the soil and seeds. Use a watering can with the rose upside down or a hose with a fine spray to avoid disturbing the soil.
Aftercare
Seedlings typically appear within a couple of weeks, but check the seed packet for precise timing. In the first few months, they can be vulnerable until they become strong and well-rooted. Regularly inspect them to ensure they have enough water, are not being overwhelmed by weeds, and are free from insect, slug, or snail damage. Using fine mesh to cover seedlings can help protect them from many pests.
To avoid overcrowding, which can stunt growth and increase susceptibility to disease, thin the seedlings if necessary. It’s best to do this when they are still small to minimize disturbance to the remaining plants. Gently pull out every second or third seedling using your thumb and forefinger to achieve the recommended spacing.
Hardy seedlings should withstand light frosts, but keep biodegradable horticultural fleece or cloches on hand to cover them if a hard frost is expected.